- May 5, 2025
PLR Meaning Explained and How It Works
- Aneatra
- Online Business
- 2 comments
📣 Share this on: Pinterest • Facebook • LinkedIn • Telegram • Blusesky • X
Don't have time for a full read? Hit play and listen to the blogcast!
Ever googled "PLR meaning" or stumbled across something called PLR and wondered if it was a secret online code? Or maybe you grabbed a done-for-you ebook but felt weird putting your name on something that didn’t quite sound like you?
Don’t worry friend, we’re about to clear that right up. In this guide, you’ll learn exactly what PLR means, how it works, and how to turn a basic, boring PLR file into a digital product that sounds like you wrote it during your best brain-powered writing sesh!
Whether you’re brand new to digital product creation or just trying to make the most of your time, PLR can be a fantabulous tool when you know how to use it right. Let’s dig in!
So, What is PLR Anyway?
PLR stands for Private Label Rights. It’s basically a license that lets you take pre-written content like ebooks, checklists, templates, or courses and edit it, brand it, and sell it as your own. Yup, you can totally slap your name on it, add your personal touches, and use it to grow your business.
But here’s the key thing to remember: your customers aren’t buying the rights — just the finished product.
So while you can:
Modify and rebrand the content
Add your name as the creator
Sell final versions (PDFs, images, etc.)
Use it for lead magnets, courses, or product bundles
You cannot:
Sell or share editable source files (like Canva templates or Word docs)
Pass on the rights for others to resell it (no PLR or MRR transfers!)
In short: PLR is perfect for quickly creating something helpful, polished, and profitable — as long as your customers are end users, not resellers.
RELATED: How To Make Money Online With Done-For-You Digital Products
Why Rebrand PLR Content?
Let’s be real, straight out-of-the-box PLR content usually sounds... Well, meh. It’s generic. It's bland. And it definitely doesn’t have your voice, your stories, or your brand's heart.
But when you rebrand it, let me tell you... It becomes a whole new thing! It becomes something that feels like you. And that’s what makes it connect with your audience.
Ready to make your PLR product shine? Here’s how to do it, step by step.
Step 1: Start with a Content Audit
Before making a single change, sit down with the PLR file and read through the entire thing from start to finish — even if it’s not the most exciting read. This first pass is your chance to get familiar with the flow, tone, and structure of the material.
As you go, pay close attention to the parts that feel outdated, confusing, or irrelevant to your brand and audience. These are the spots that likely need updating to reflect current trends or better resonate with your Ideal Client/Customer Avatar (ICA).
Also take note of any sections that sound too stiff, robotic, or just plain off-brand. If it doesn’t sound like something you would say, flag it for a rewrite.
Finally, look for areas that are missing your personal touch. Where could you share a quick story, real-life example, or tip from your own experience? Adding these details builds trust and makes the content feel more authentic and relatable.
Once you’ve done your full read-through, map out a game plan for your changes. Create a clear outline of what to keep, what to edit, and where you’ll be injecting your brilliance. Having this roadmap in place will save time and help you stay focused when you're ready to start editing.

Step 2: Rewrite the Introduction and Conclusion
The introduction and conclusion are your chance to connect with your audience on a deeper level. Start by tossing out the original intro and writing a brand new one from scratch, something that speaks directly to your reader’s heart. Think about how they’re feeling when they open the product, what problem they’re hoping to solve, and how your voice can guide them gently into the content.
As for the conclusion, this is your final chance to wrap things up with clarity and warmth. Reaffirm the transformation your product provides and make sure to include a clear next step — whether it’s downloading a freebie, visiting your shop, or joining your email list. Let them know you’re with them all the way.
Step 3: Customize the Main Content
Here’s where you add your unique pizazz! Read through each section of the main content and ask yourself, “Would I actually say this?” If the answer is no, it’s time to tweak it. Inject your personality, your stories, and your ICA’s exact language wherever possible.
Replace dry, generic advice with helpful, actionable steps. Add examples that your audience can relate to. Especially if they’re moms juggling work, nap times, dinner duty, and the dream of starting a business. And don’t be afraid to shuffle the content around to create a smoother, more logical flow. Your goal is to keep things engaging, useful, and totally YOU.
If needed, try to update at least 40–50% of the content. That’s the sweet spot where it starts feeling like an original product rather than something borrowed.
Step 4: Apply Your Visual Branding
Think of your product like a homemade pie... The content is the filling, but the design is the flaky crust that makes people drool. Open up your favorite design tool (Canva, anyone?) and begin transforming the visuals.
Use your brand’s color palette, fonts, and any design elements you regularly use across your business. Swap out any dull or irrelevant stock photos with warm, welcoming images that reflect your vibe. If you’re not into photography, try cute icons, illustrations, or pastel graphics — whatever feels like YOU.
Design a beautiful cover that clearly communicates the value of the product. And be sure to add matching headers, footers, and dividers to keep the layout clean and consistent throughout. Your readers will notice (and love) the extra care in every detail.
RELATED: How to Create Digital Products With Canva

Step 5: Add Original Bonuses
Want to overdeliver and make your offer feel like a total steal? Sprinkle in some bonus goodies! Think about what small extras would help your ICA actually implement what they’ve learned.
This could be a simple checklist to guide them step by step, a fill-in-the-blank worksheet, or a short video where you talk them through the key takeaways. Even a mini audio note or a motivational message can go a long way. These thoughtful touches add massive value without adding too much extra work for you.
They also show that you truly care about their success, which builds trust and turns a one-time buyer into a lifelong fan.
Step 6: Format and Finalize Like a Pro
Now for the final polish — because we want your product to feel as good as it looks. Start by checking all your formatting: make sure your fonts are consistent, your headings stand out, and your paragraphs are spaced just right for easy reading.
Add a clickable table of contents if the product is more than a few pages long. Double-check that all your links, buttons, and interactive elements work smoothly. And give the whole thing a good proofread (or three!). Fix any spelling or grammar errors, awkward sentences, or formatting hiccups.
This last step might seem small, but it makes a huge difference. A well-formatted, error-free product builds confidence and makes people feel like they’ve invested in something truly valuable.
Customize Based on the Purpose
Not every PLR product needs the same level of rebranding, it depends on how you’ll use it in your business. If it’s a quick freebie or opt-in to grow your email list, you can get away with lighter edits and still deliver value.
But if you’re turning it into a paid product or signature offer in your shop, you’ll want to go all-in. Add extra content, go deeper with your personalization, and make sure every detail reflects your brand’s tone and vibe.
Either way, always ask yourself: "Does this feel like something I’d proudly put my name on?" If yes — you’re golden!
Wrapping It All Up: PLR Meaning in Real Life
So now that you fully understand what PLR is and how to work your magic on it... Creating a unique digital product becomes so much easier. With a little rebranding love and your particular flair... PLR can become your shortcut to digital product creation, without starting from scratch.
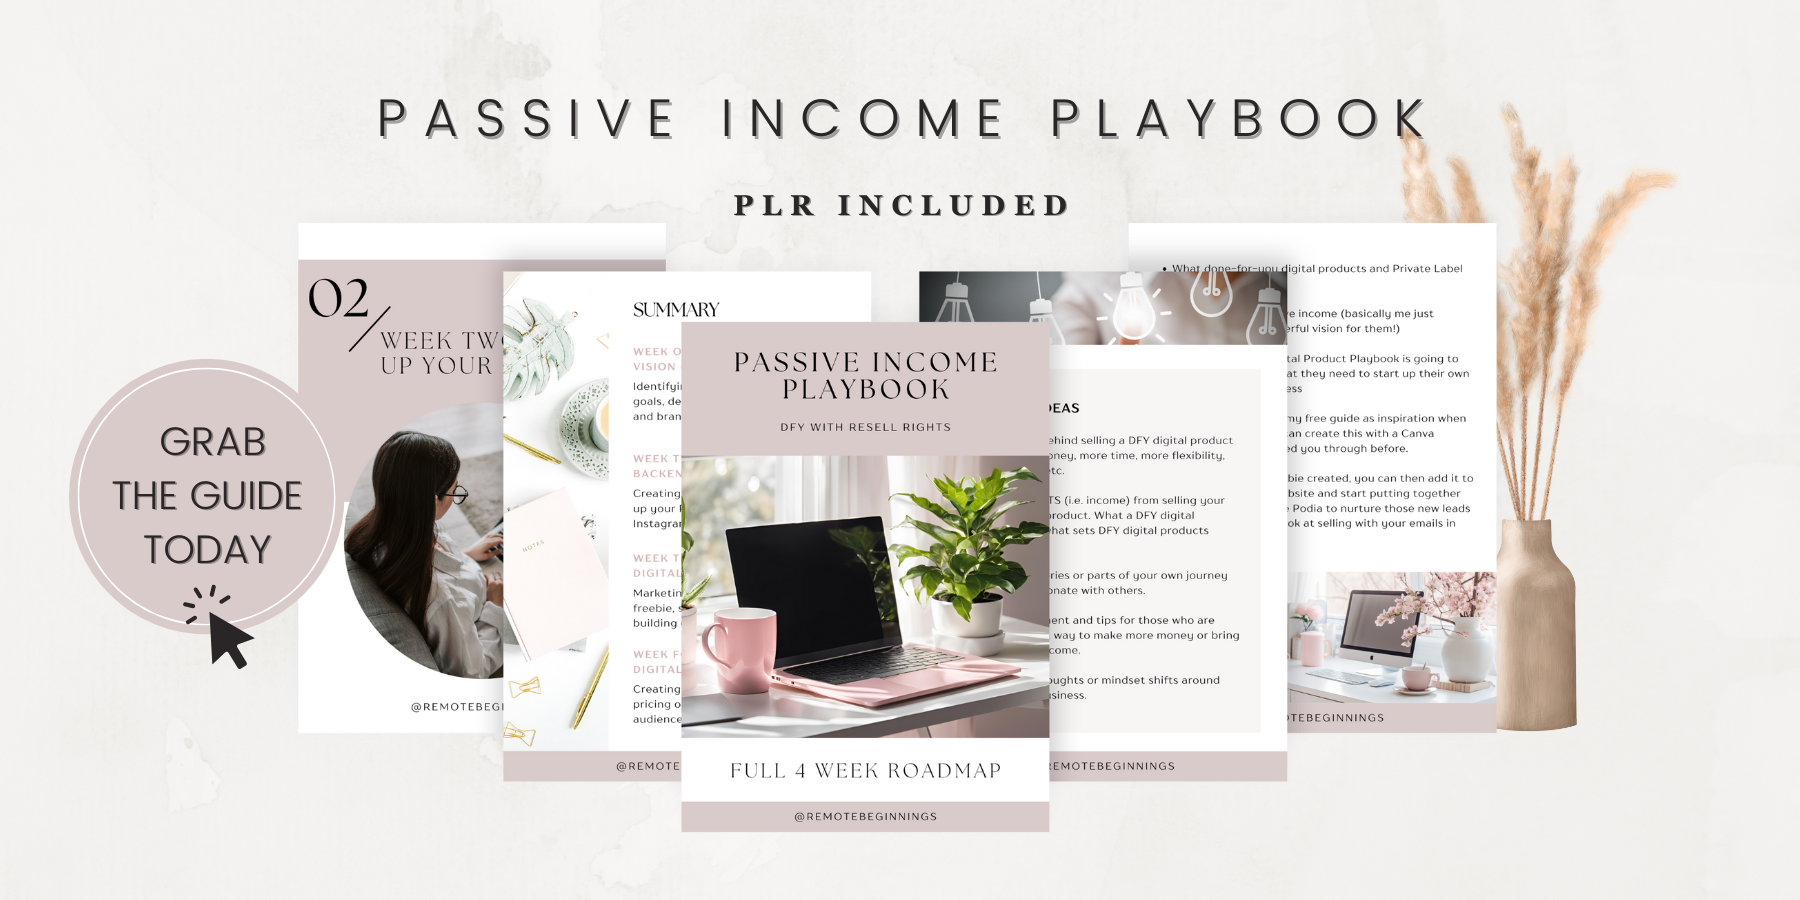
And hey, if you're ready to try it out for yourself, check out my sweet and simple Passive Income Playbook, designed to help you create your first offer in just one month (even with little ones underfoot!).
You’ve got this, friend. Let’s build something beautiful together. 💛

More Goodness For Your Journey
If you enjoyed this blog post, here are more supportive resources to help you on your way!
Work From Home
Learn how to find remote jobs, avoid scams, and more so you can finally begin to work from home!
Online Business
Get simple strategies to earn passive income and build financial freedom for you and your family.
Tools & Resources
Discover the best tools and resources to simplify your remote work or online business journey.
Hi, I'm Aneatra!
The owner and creative juice behind Remote Beginnings. I've also been blessed to work from home and grow my online business for the past 20 years. This is how I learned the ins and outs of earning a living remotely. You can learn more about me here.
Now I'm on a mission to help you do the same... Escape the grind, strengthen your family ties, and enjoy more freedom! No more having to choose between providing for your family or spending time with them when there's room for both.